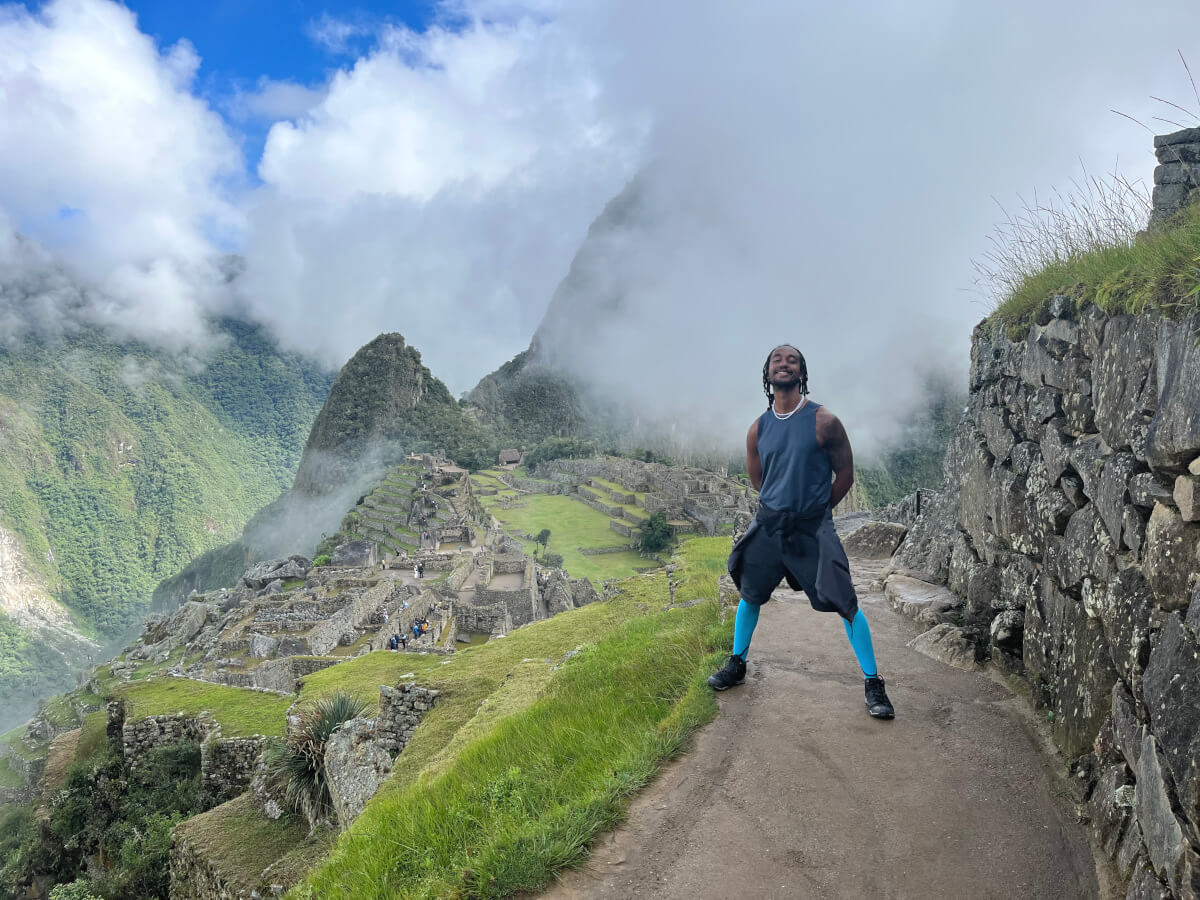
Doing the Salkantay trek independently may be easier than you think. I decided to do this fantastic trek during the rainy season in February. There were a lot of questions in my head about how to do it properly, and only a few answers were available. That’s why I decided to write this blog series to help you.
In this Machu Picchu series, I will share details on how I did the Salkantray trek in five days without a guide. It took me six days to complete the trip, but the fifth day was only for resting. After hiking for four days straight, I decided that one rest day at the hot springs in Aguas Calientes was well deserved.
If you are here, you are also trying to figure out how to do the Salkantay independently. My experience will help you create a clearer idea about this trek. In this article you will find the details of doing the Salkantay trek without a guide, day 3.
This blog post is part of a series about doing the Salkantay trek without a guide. If you are interested to know more details about the other days of this trek, click on the links below:
Table of Contents
Day 3 - Collpapampa to Llactapata
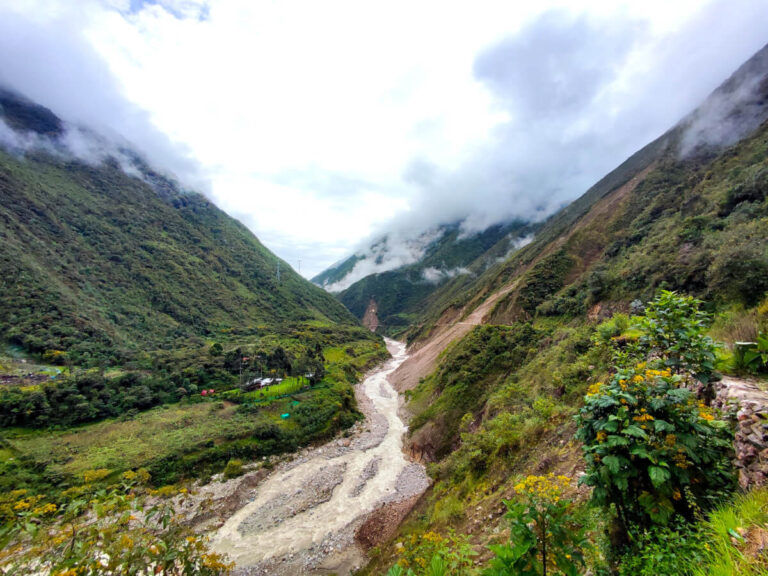
It wasn’t possible to hike on the trail from Collpapampa to Llactapata. A significant landslide happened and blocked the trail. I realized that one of the disadvantages of hiking on Salkantay during the rainy season is the amount of landslides. I often hear stories of accidents in the area from the locals; some are minor, and others are not.
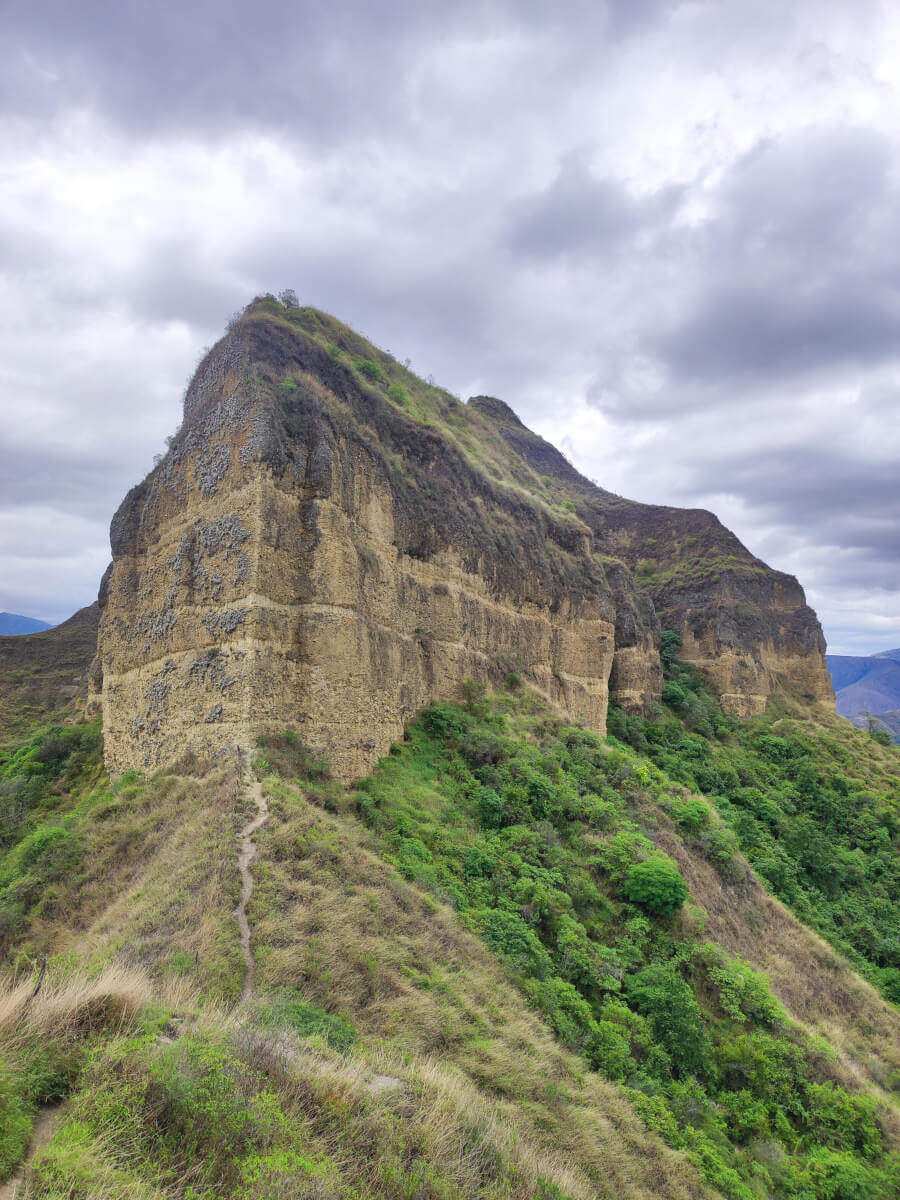
The only option was to hike through the main road connecting both places. Even though 80% of today’s hike was on a dirt road, the views were breathtaking. It was good to see plenty of water sources from waterfalls formed on the top of the various mountains on the way.
The first 16 km of the hike is an easy downhill that gradually decreases without significant changes. Your knees will thank you for that after the first two days of hiking.
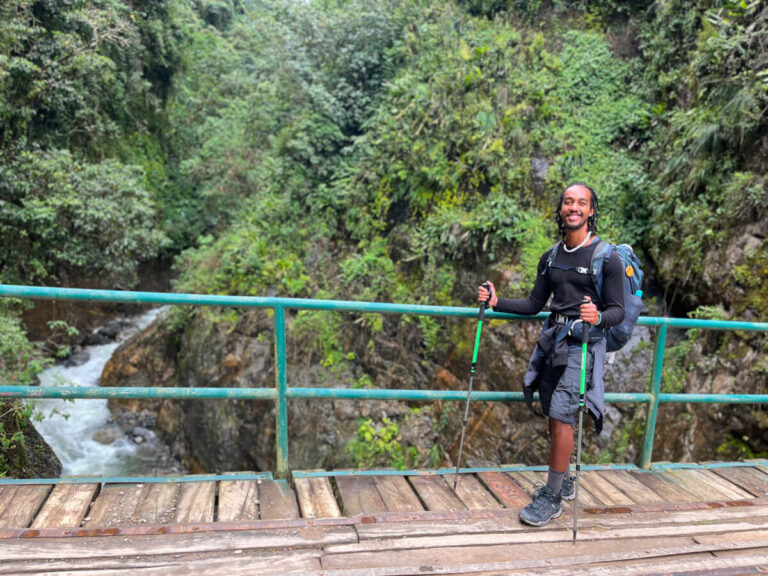
On the way to Lucmabamba
On the way, Maps.me showed a bridge to cross to the left side of the Santa Teresa River, walk for a few kilometers, and cross back to the main road. Even though it showed this path as a shortcut, I didn’t take it. The bridge could have been more straightforward, or I was distracted and completely missed it.
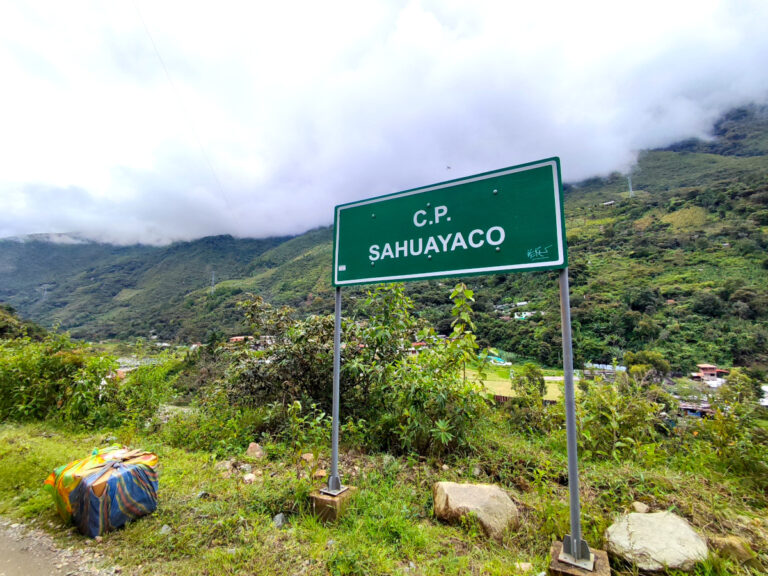
The first sign of civilization appears when you are close to the village of Sahuayaco. If needed, you can buy beverages and snacks there. From now on, it’s an easy flat hike toward Lucmabamba.
Unlock Cusco's Ecotourism wonders with my guide
Ready to explore Cusco’s vibrant ecotourism scene? My travel guide offers everything you need for an unforgettable journey. Don’t miss this chance to travel sustainably!
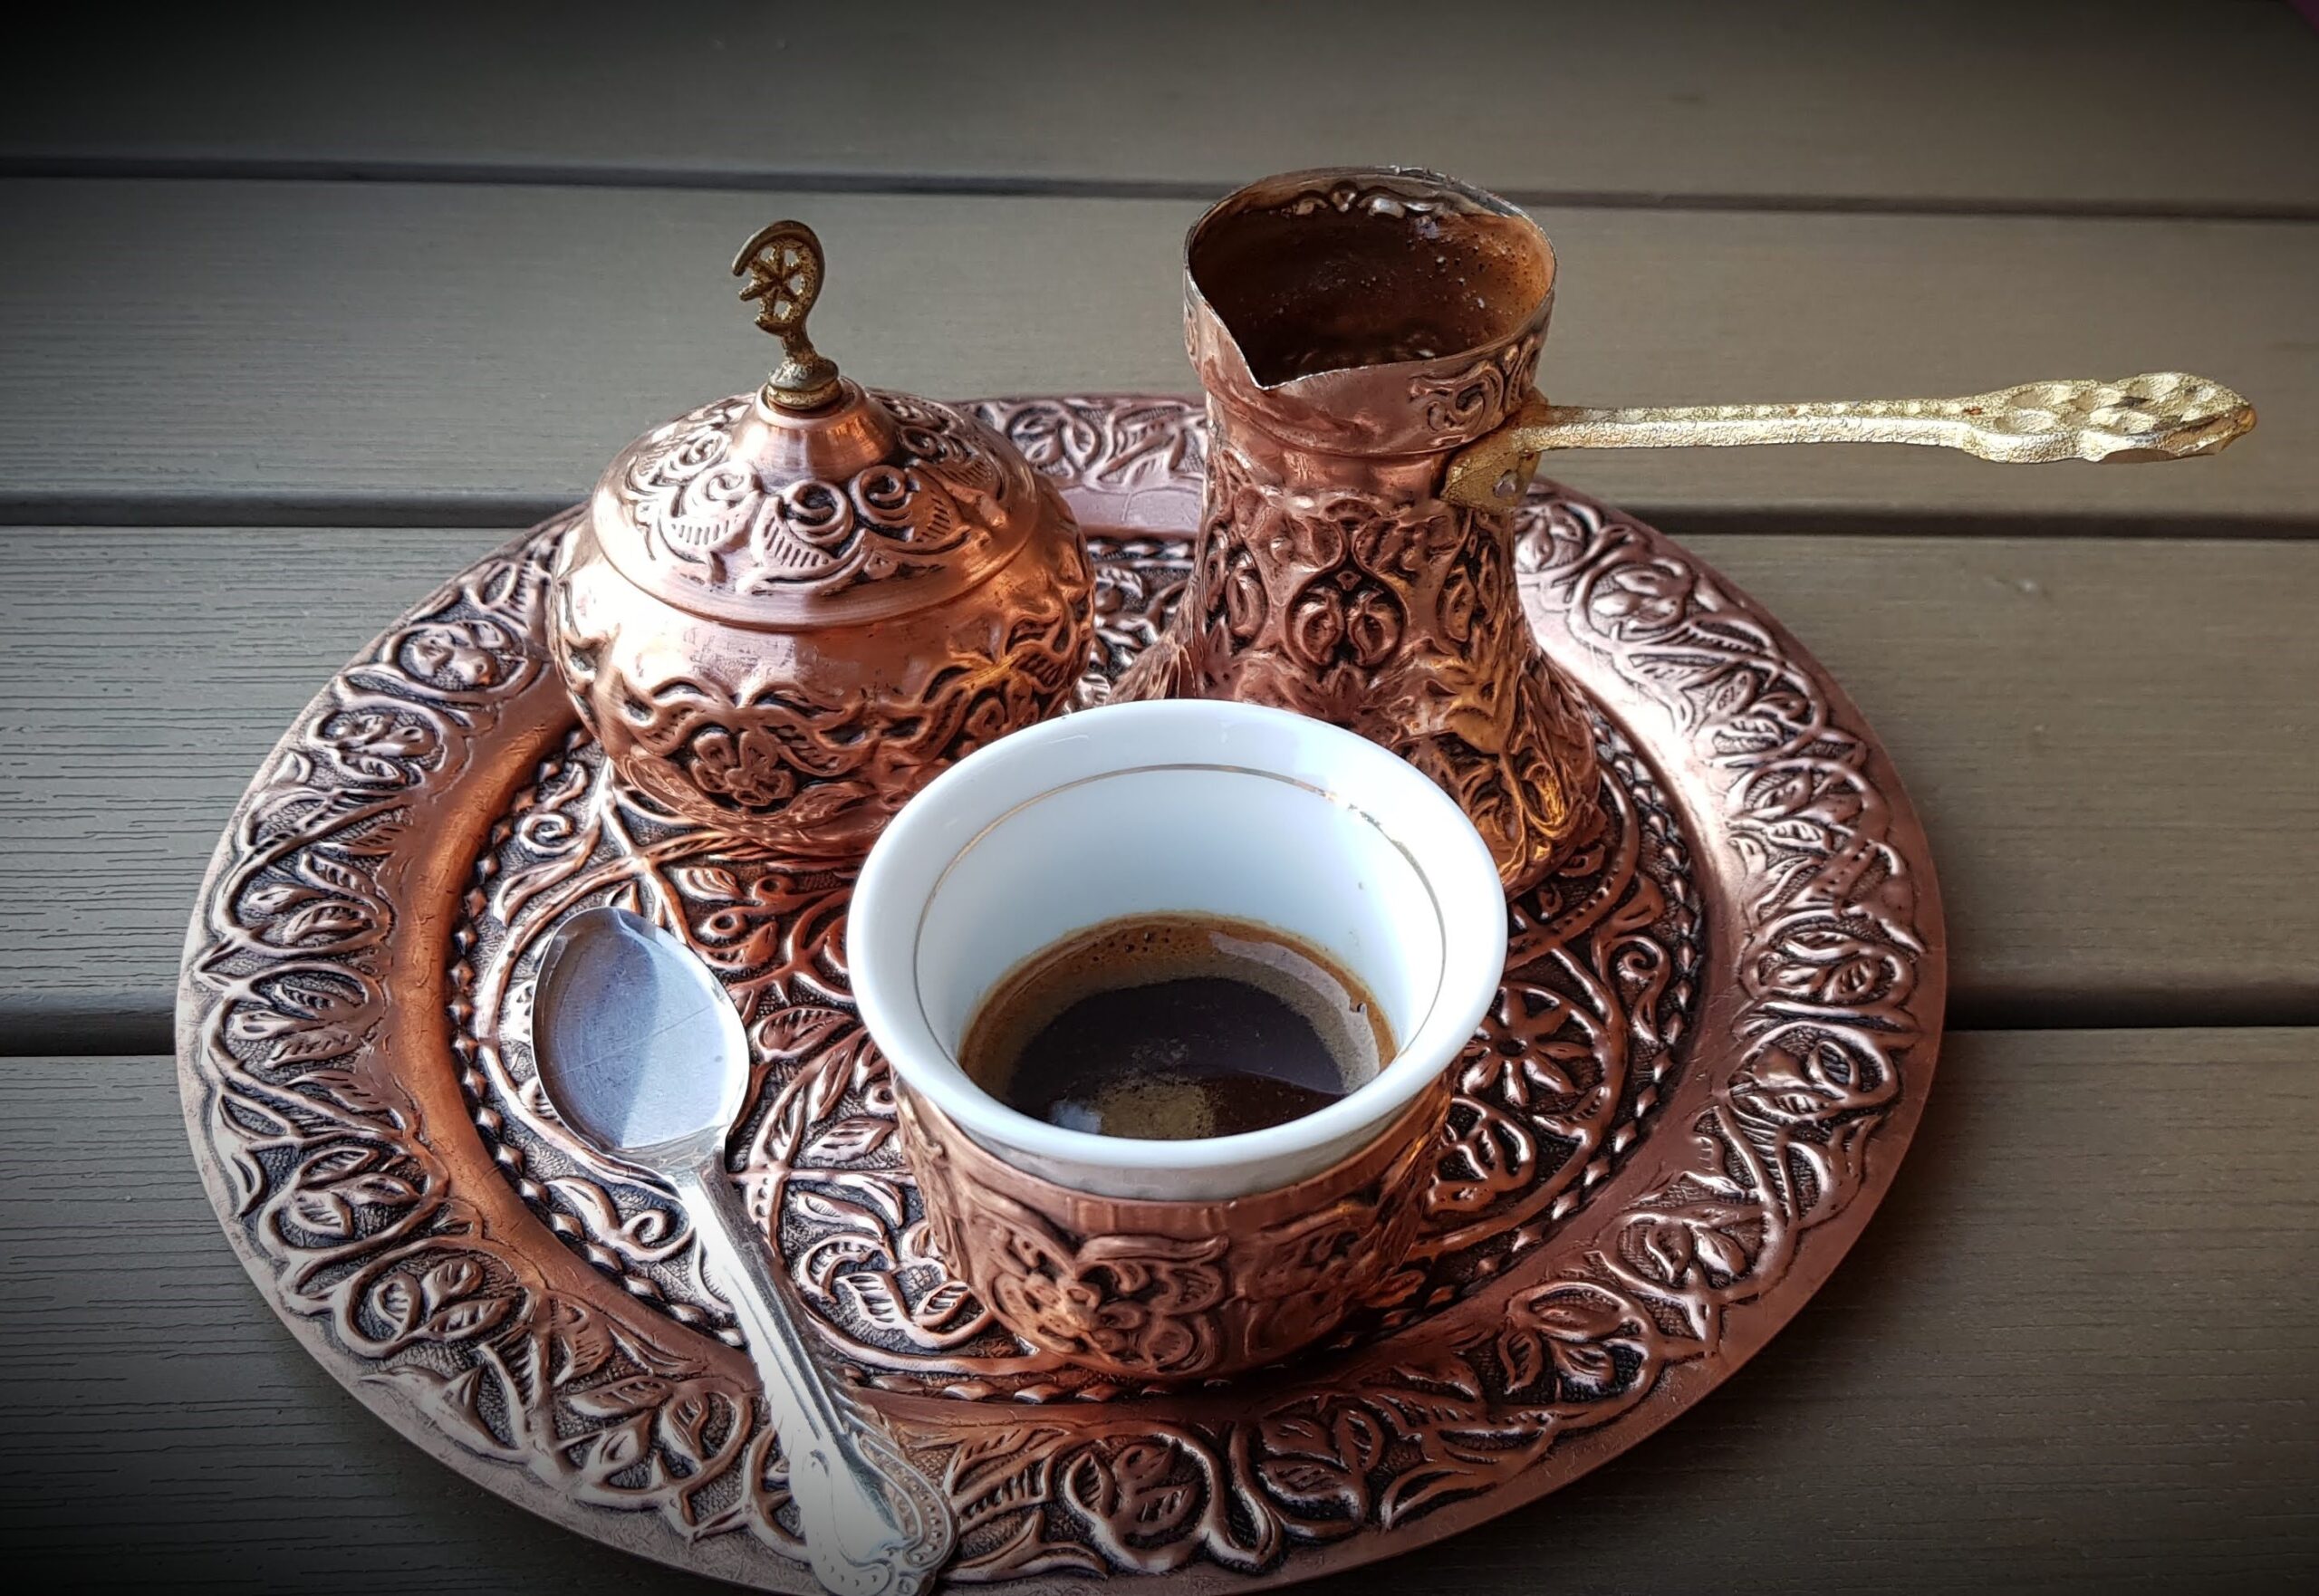
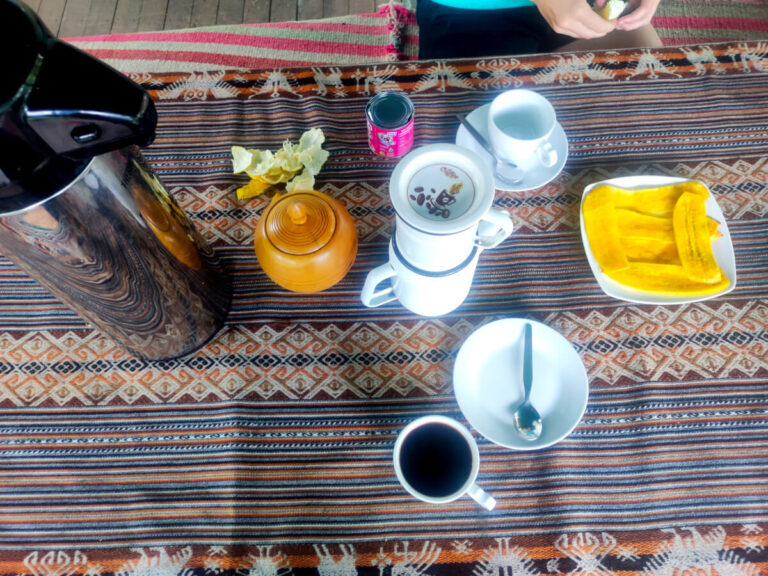
Lucmabamba has a production of local coffee and banana. Please stop at one of the coffee places to try their coffee before hiking up to Llactapata. You will thank me later for that!!
I found one coffee place at the top of Lucmabamba. It’s the last coffee place before the trail to Llactapata starts. They served a fantastic homemade coffee with bananas for 10 soles. It was one of the best coffees I have ever tried, on the same level as in Colombia.
The uphill to Llactapata
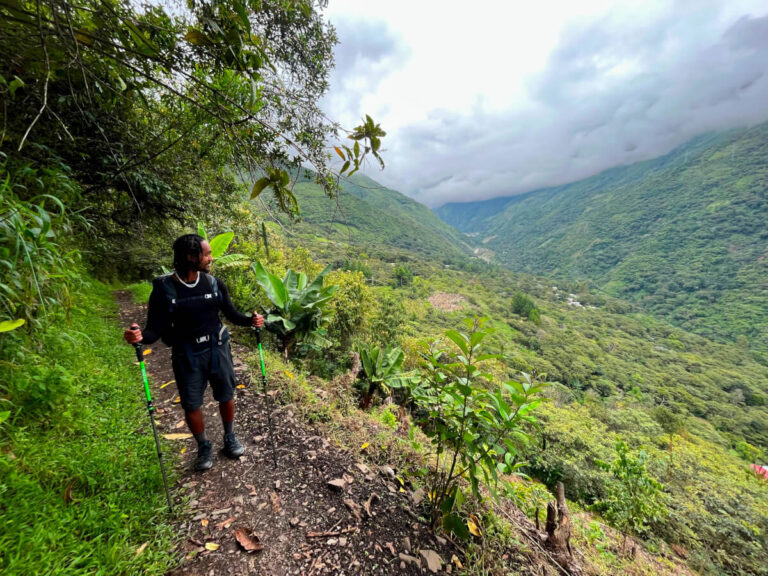
The uphill is moderate-hard level; it is easier than it looks on the maps. The beginning has a bit of stairs as you pass through Lucmabamba. After the village, the trail starts cutting through the mountains in the area, and the real uphill begins, with a good challenge.
Only the last half of the uphill is challenging. There is a viewpoint before the last 20 minutes where you can stop for a refreshment and drink a coffee or fresh orange juice.
A villager saw me from one viewpoint and followed me to the second viewpoint. It was a 15-minute hike uphill until the second viewpoint, and the villager went there just to ask me if I needed something. I felt bad for him because he was hiking there only to try to sell me something, so I bought some refreshments from him, even though I didn’t need them.
The Llactapata Lodge
After the second viewpoint is the last 20 minutes of uphill, and at the end, you will reach the Llactapata Archaeological site. You will hike downhill from the site for 1.5 kilometers until the Llactapata Lodge.
The reviews of the Lodge are good, but my experience with them could have started better. It was raining, and I arrived completely soaked in the Lodge. I had to wait for more than an hour to have a room. The Lodge was empty, and the workers were busy doing other things, so they didn’t care about new customers.
After more than an hour of waiting and talking to a lady three times, she asked one of the workers to give me a room that had always been ready since I arrived. Enough of my rant; if you want more details about my experience, here is the link to my review. I hope your experience will be better because this is the only available accommodation in Llacatapata.
Conclusion
This guide explained how to do the Salkantay trek without a guide, day 3. If you want more details about the other days, click on the links below.
The third day was less challenging than the first two, and I enjoyed the views while hiking on the main road from Collpapampa. Another highlight for me was the great coffee experience in Lucmabamba. The uphill to Llactapata also gave me great views to appreciate. The Salkantay trek is truly amazing!! If you want to follow my route, here is the link.
Thanks for reading about my adventure!! Bye!!

