If Machu Picchu is a city, Choquequirao, also known as Machu Picchu’s sister, is a kingdom. The only way to reach the site is by trekking, and it is possible to do the Choquequirao trek without a guide. This article explains how I did it by myself.
This Inca archaeological site was used as a stronghold and refuge by the Inca during the Spanish invasion. It is believed to have played a significant role in the resistance efforts led by Manco Inca.
The fact that the only way to reach the stronghold is by foot might be the main reason why only a few visitors explore the site yearly. The estimated number of visitors in Choquequirao is around 10,000, much less than the 1.2 million visitors Machu Picchu receives yearly.
However, the number of visitors might change in the future. The Peruvian government plans to build a cable car to bring tourists to Choquequirao. Once the cable car is completed, the number of visitors is expected to increase to 200,000 yearly.
Until the cable car is finished, this gem will remain an amazing place to explore without feeling the mass-tourism vibes of other places in Peru. If you are reading this article, you are already considering visiting this Inca kingdom.
This article will give you a clear idea of how to do the Choquequirao trek without a guide.
This blog post is part of a series about doing the Choquequirao trek without a guide. If you are interested to know more details about the other days of this trek, click on the links below:
Table of Contents
Do you need a tent?
No, you don’t need a tent to do the Choquequirao Trek without a guide. It is important to answer this question because it took me a lot of time and research to find a concrete answer. You have accommodation options in Capuliyoc, Chiquisca, Santa Rosa, and Marampata.
If you plan to do this trek on an itinerary slightly different than mine, don’t worry; you will have options. On the way between Chiquisca and Capuliyoc, there is one small camping area where you DO NEED a tent to spend the night.
In Santa Rosa, Chiquisca, and Marampata, you can only pay for the camping area and use your tent. However, if you don’t have a tent or don’t want to use one, you are good to embark on this adventure.
For peace of mind while traveling or living abroad, consider SafetyWing's health insurance. Their Essential plan covers travel and medical emergencies, including adventure sports and electronics theft. The Complete plan adds routine healthcare, mental health support, and maternity coverage worldwide, including your home country. Both plans are ideal for ecotourists and digital nomads.
The Itinerary
The entire Choquequirao trek without a guide was 58km long and took me three days to complete. However, if you are unsure about your physical condition or want to take your time, it’s completely fine to do it in four days. Doing it in three days is a great way to push yourself, but you need to be aware of the steep uphills you will face during this trek.
If you choose to do the trek in four days, you will split the second day into two days. This means that the second day is a day only to explore Choquequirao. The archaeological site is big, and you need hours to fully explore it, even though it is estimated that only 30% of the site has been discovered so far.
My three-day itinerary was the following: On the first day, I hiked from Capuliyoc to Marampata. The second was the big day when I explored the archaeological site. After my explorations, I got all my stuff in Marampata and continued hiking to Chiquisca, where I spent the night. The third day was a hike from Chiquisca to San Pedro de Cachora or simply Cachora, and from there, I took transportation back to Cusco.
Thinking about flying to Cusco? Check flight options on Kiwi, it's my favorite way to book plane tickets:
Getting to the base
I chose Capuliyoc as the base start for the Choquequirao trek without a guide. To get there from Cusco, I took a bus from the main terminal to Abancay. You need to tell the driver to drop you by the Ramal de Cachora. When you buy the tickets, tell the person selling the tickets where you are going. They will charge you less for the ticket because you are not going to Abancay.
Once you are in Ramal de Cachora, you will see many Peruvian taxi drivers waiting on the side of the road. Even though Choquequirao is not very touristic, drivers know that people need a ride to get to Cachora or Capuliyoc. You won’t have issues finding a driver. I arrived in Ramal de Cachora around 9 p.m. and found one.
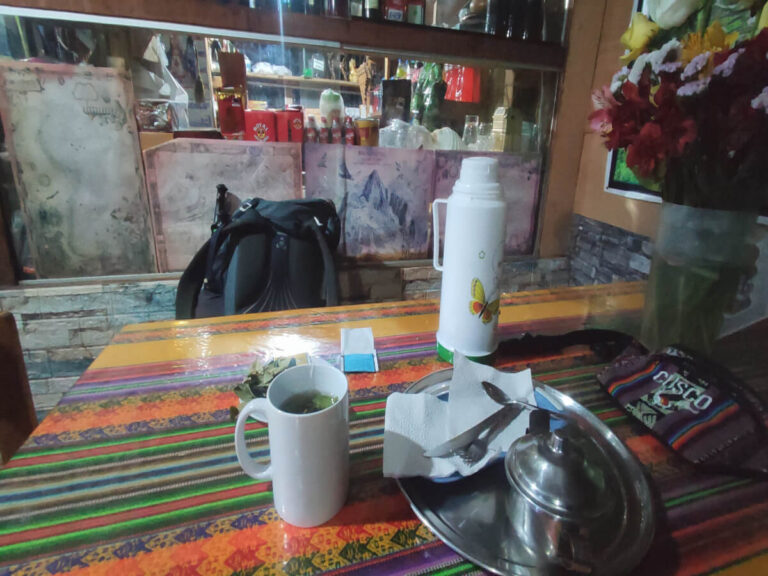
If you arrive there early, it is better because you can also find someone to split the ride with you. The driver charged me 80 soles to bring me to Capuliyoc.
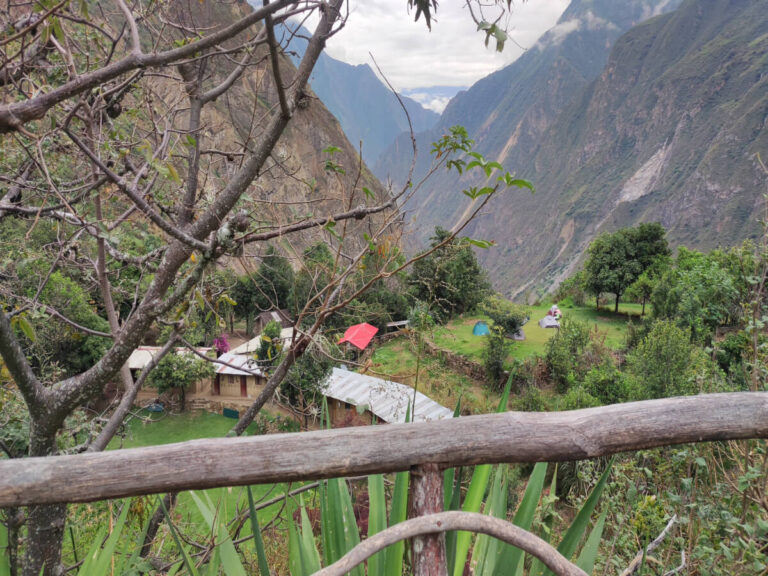
In Capuliyoc, I stayed at Choquequirao Wasi. They had a cabin available for 50 soles a night. The cabin was big enough to fit a couple, and the views early in the morning were fantastic! The food in there was delicious!
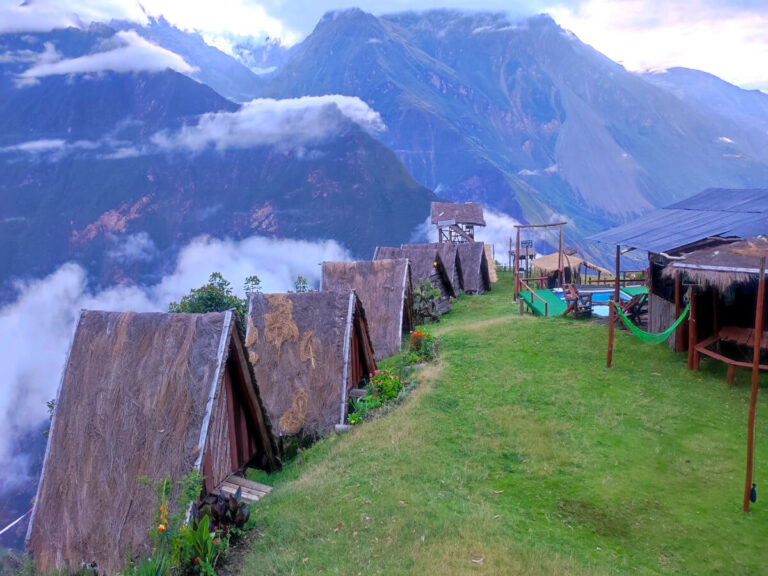
Do you like to see videos? Check my instagram reel about the first day doing the Choquequirao Trek:
Capuliyoc to Rosalina Bridge
Choquequirao Wasi is right at the beginning of the trailhead. Once you leave, you will have to pay the entrance fee of 60 soles to enter Choquequirao. They will ask you when you are planning to return or if you are planning to continue hiking to another place. It is possible to hike from Choquequirao to Machu Picchu on a long seven-day trek.
At the beginning of the trail, you will face a small uphill and see many workers with horses. They wake up early in the morning to bring supplies for the villages in the area.
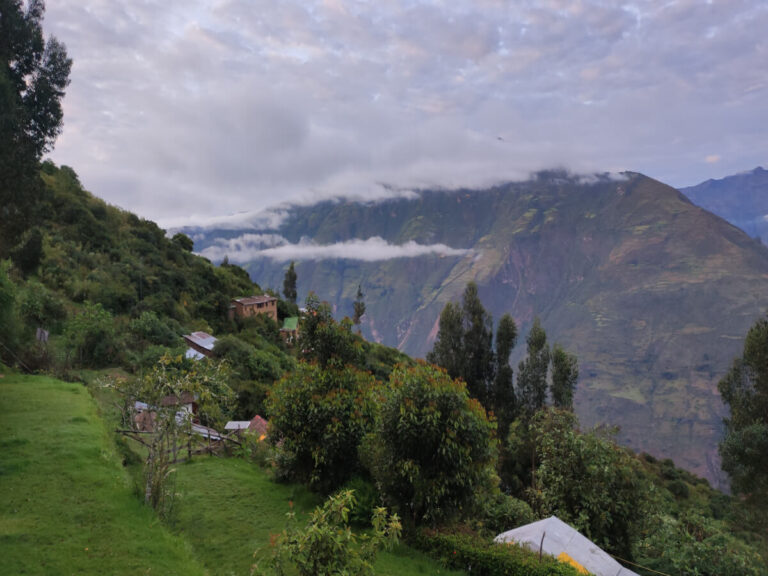
Take your time to appreciate the views from the Capuliyoc viewpoint, which you can reach after hiking for only a few minutes after you start. You can see the Apurimac River and the mountains around from there.
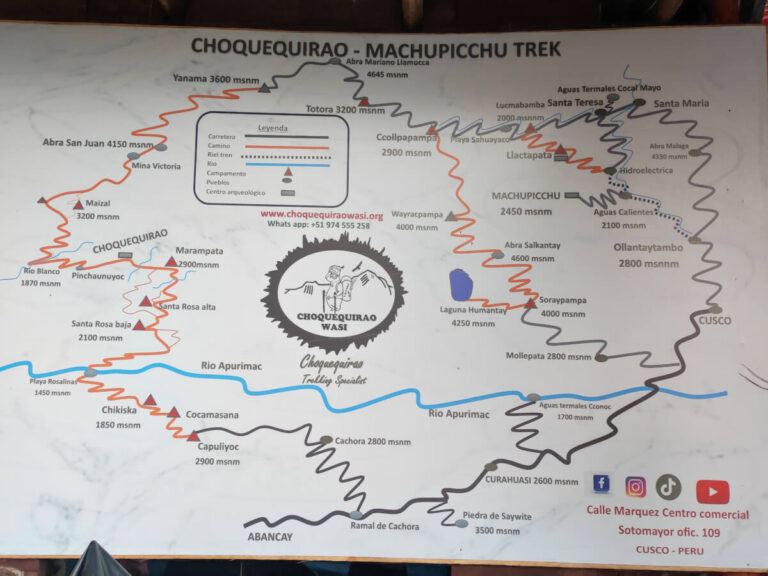
After the viewpoint, the trail goes downhill for 9 kilometers until Rosalina’s bridge, built over the Apurimac River. The trails in this trek are well-marked and easy to follow, so don’t worry much about getting lost. Before you reach the bridge, you will pass by the village of Chiquisca. Take a good look at the village because, if you follow my itinerary, you will sleep there the next day.
As expected, the way was empty, and most of the time, I was the only person hiking down to the bridge. There is a small camping site before Chiquisca where you can buy refreshments. They also have a camping area where you can bring your tent and spend the night.
My only warning about the downhill is to pay attention to the small rocks on the trail. They can make you slip if you don’t walk with a strong grip. Keep your feet strong and firm on the ground, and don’t step on loose rocks.
Rosalina to Marampata
After the bridge, the challenge of the day starts!! The uphill to Marampata is 6 kilometers long and steep in some sections. The sun exposure is not very high due to the amount of trees around the trail. Like in the previous part of the trail between Chiquisca and the bridge, there are many loose rocks in this part of the trail to pay attention.
Another fact to pay attention to is the horses passing by. Most of them are going up to Santa Rosa or Marampata. It’s good to be alert because, in some parts, the trail is very narrow, so you need to find a place at the corner for the horses to pass without hitting you.
Before Marampata, there is a small village called Santa Rosa. This village is split into two parts: Santa Roja Basa and Santa Rosa Alta. In both places, you will find accommodation options and a place to eat or buy refreshments.
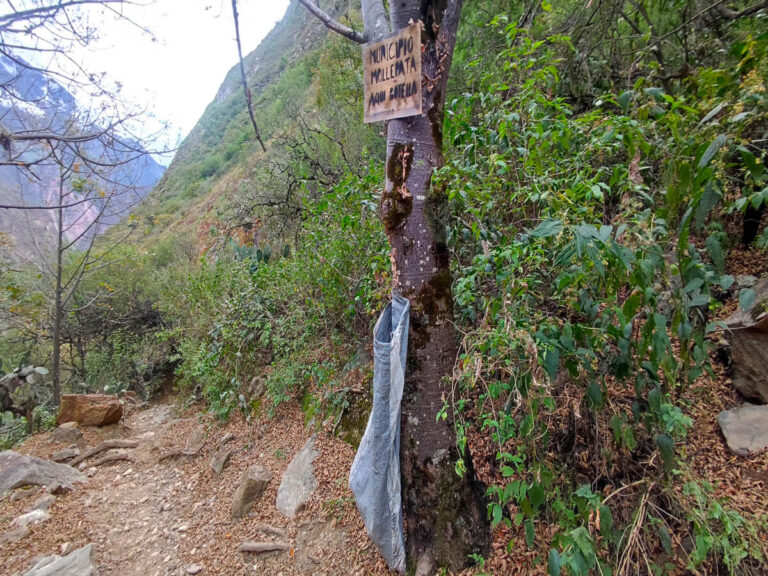
After reaching Santa Rosa, I took a break from the uphill to save energy for the final leg of today’s hike. Talking to the restaurant owner, she told me they also have a camping area if you have a tent. The cool thing about the Choquequirao Trek is that you don’t need a tent.
Following the uphill is the village of Marampata, the base to start the Choquequirao exploration the next day. I didn’t book a place in advance, so it was a problem to find available accommodation. There are several places in the village, offering bed with breakfast and dinner. I stayed at the Refugio Choquequirao and my experience was good. I enjoyed the vegetarian lunch and dinner they prepared for me.
Read about more activities and tips in Peru:
Conclusion
This article was about the first day of the Choquequirao Trek without a guide. The most challenging part was the uphill from Rosalina to Santa Rosa. The views from both parts of the trail, before and after the bridge, were stunning! Many times, I found myself stopping hiking to appreciate how beautiful nature is in the area.
If you were not certain about how to do this trek by yourself, I hope you have a better idea now. The route is very straightforward, and I feel that doing this trek with an agency is good for those who want someone to take care of the logistics.
The path is easy to follow, and getting lost is very difficult.
I hope to see you all in the following article!! Bye!!


