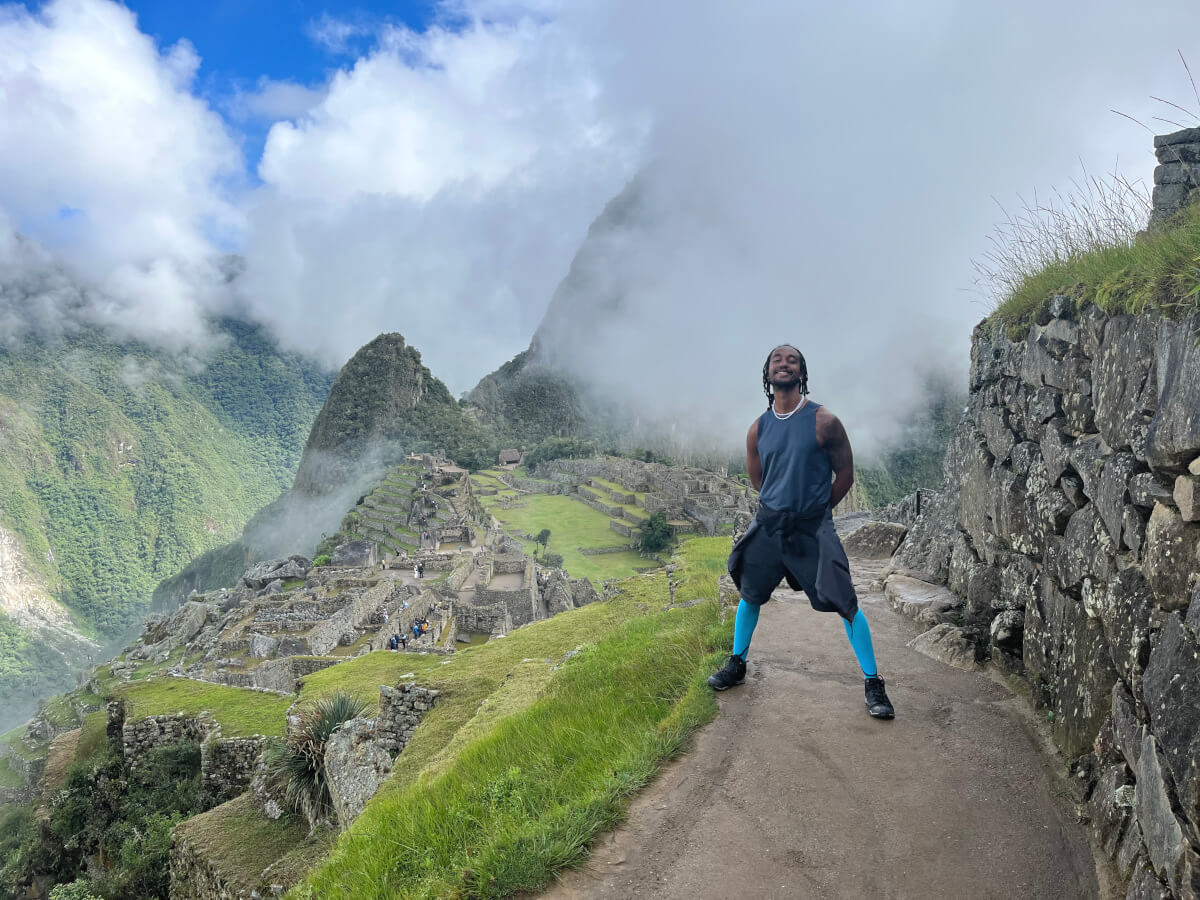
This article is about the second day of the Choquequirao Trek without a guide. It was the most challenging day because I decided to explore the archaeological site, get my stuff, and continue hiking towards Chiquisca.
If you’re not keen on pushing your limits, consider breaking this day into two. Given the size of the archaeological site, dedicating an entire day to exploring Choquequirao without any time constraints can be a wise decision. Take your time to feel the history and beauty of each section. I found myself spending over three hours fascinated by every corner explored.
Splitting this day in two will leave the second day only for hiking from Marampata to Chiquisca or even to Capuliyoc, depending on your fitness condition.
If you want more details about this trek’s second day, keep reading.
This blog post is part of a series about doing the Choquequirao trek without a guide. If you are interested to know more details about the other days of this trek, click on the links below:
Table of Contents
Leaving Marampata
Since Marampata is on the way back to Cusco, you don’t need to bring all of your stuff with you to Choquequirao. Pack lightly with only water, snacks, other necessary supplies, and a sun protector. I recommend bringing mosquito repellent because they are very aggressive in the archaeological site.
The hike after leaving the village is beautiful. You will be blessed with views of the mixture of forest and mountains in the area. Only a few minutes after starting the hike did I see the Chunchumayo River, which connects with the Apurimac River.
Some parts of the trail are narrow, so you must pay attention while walking. If you are the type of person who fears hiking on narrow paths, you should be aware of that. There are some big rocks on the way. When I was there, the climate was dry, so everything was okay. I can only imagine how slippery these rocks can be during the rainy season, so be careful!!
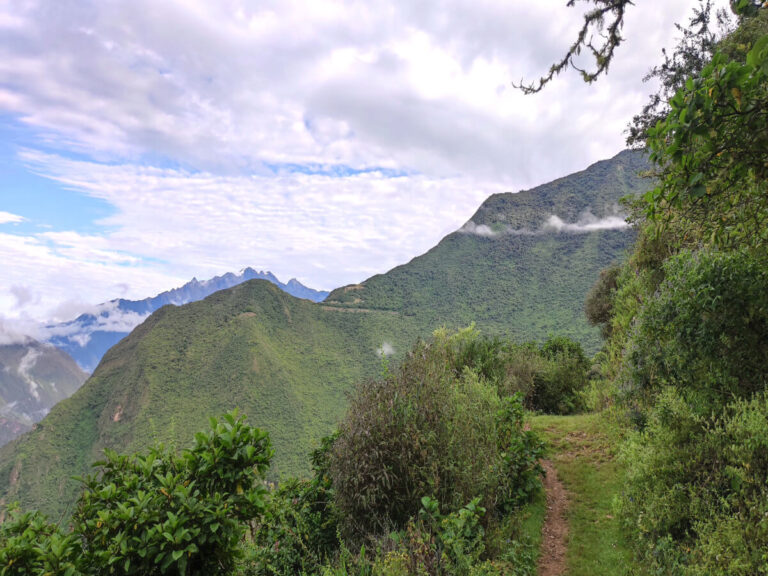
The change in altitude while hiking towards Choquequirao is minimal. It is the easiest part of today’s hike, but it still requires attention. Sun exposure is medium. Big trees cover many sections of the trail.
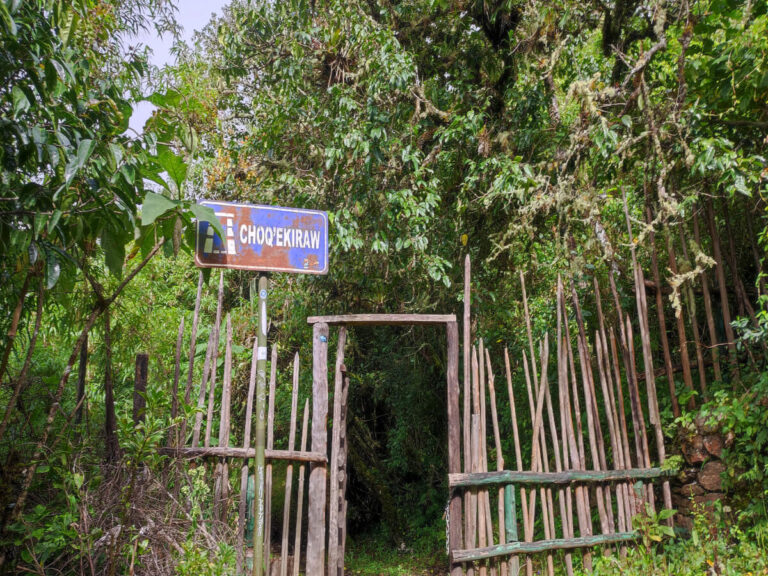
You will start feeling a slight but constant uphill. The trail is surrounded by many trees, closing the access to the sun and leaving small pools of mud. When the uphill starts to cease, you will see the first sign about the entrance of the archaeological site.
A sign will tell you to continue straight to the Plaza Central or to go left towards Sector XI. Follow the trail and continue walking straight to reach the Plaza Central. After hiking for a few more minutes, you will get to the entrance of Choquequirao.
Do you like to see videos? Check my instagram reel about the second day doing the Choquequirao Trek:
Choquequirao
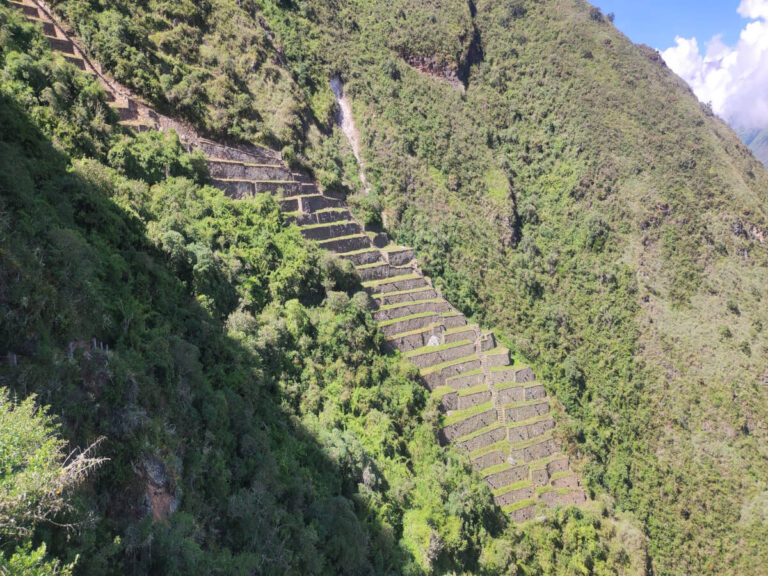
After passing the main gate, you will see the first sector of the archaeological site. At the beginning of the site, extensive stone walls are split into sections, and stone stairs are surrounded by grass, showing the magic of the Inca architecture. You can walk straight to Plaza Central or climb the wall and explore the right side of the entrance.
A few minutes later, you climb and find the Plaza Central of Choquequirao. Take your time to appreciate the views around it before entering the citadel.
There are twelve sectors to explore on the site; some are far away, like Sector XII, which is three hours away from the upper part of Choquequirao. I started my explorations with the Llamas Sector, which was the most beautiful part of the site. Exploring the Llama Sector took me more than an hour!
After that, when you enter the site, you can explore the upper parts on the right side of Plaza Central. From there, I went down to see the small citadel inside the inner Plaza Central.
There’s a colosseum-type construction on the top of a hill on the left of Plaza Central. This is where you can get the best view of the citadel in Choquequirao; it is impressive. However, the mosquitoes were ultra-aggressive. I felt they didn’t want me to be there, so they bit me constantly without a break. I even had issues taking pictures or videos because they wouldn’t give me a few free seconds to do it.
After the Colosseum, you can continue exploring on the other side. There’s a hiking trail that will bring you to some buildings and a sanctuary on the other side of the site. It’s cool to follow this path because you don’t need to return to Plaza Central anymore.
I didn’t explore all the sectors in the site, but this path I described was enough for me to feel the Inca vibes of Choquequirao. After all these hours walking around the archaeological site, I felt enormous satisfaction, and I’m pretty sure that you will enjoy it as well.
Thinking about flying to Cusco? Check flight options on Kiwi, it's my favorite way to book plane tickets:
Returning to Marampata
Once you are satisfied with your exploration of Choquequirao and decide to leave the site, you will return to Marampata by hiking on the same trail. If you want to trek to Machu Picchu, another path will take you to Maizal.
I decided to continue hiking, so I packed all my stuff and left Marampata for Chiquisca. It was a very long day of hiking, but I managed to reach the village right before sunset.
If you are unsure if you can make it to Chiquisca or don’t want to push too much, take an extra day to hike there. Finish the day in Marampata, stay another night, and go to Chiquisca the next day. This way, the entire trek will last four days.
Hiking to Chiquisca
Hiking back to Chiquisca can be challenging if you go to Choquequirao on the same day. The path downhill has many small rocks that will require a lot of attention. Views of Apurimac and the surrounding mountains will inspire you to continue pushing forward.
When you pass the Santa Rosa village, only a few minutes later, you will reach a part of the trail without trees. This path will show you open views of the surrounding mountains, and you will be able to see your final destination for the day: Chiquisca.
Once you reach the Rosalina Bridge, it’s time to change the type of effort and start the uphill. It will be as challenging as the uphill from the bridge to Santa Rosa. The uphill lasts around 4 kilometers before you reach Chiquisca.
Read about more activities and tips in Peru:
Conclusion
This article detailed the second day of the Choquequirao trek without a guide. It’s important to note that this is the most challenging day if you choose to follow my itinerary and hike to Chiquisca after exploring the archaeological site. Being aware of the difficulty can help you prepare for this adventure.
I hope you understand better what to expect in this adventure. Yes, it was the most demanding day of the trek, but it was also very rewarding. I like to push myself when I feel like it and test my limits to see how much and for how long I can do a hike.
If you want to get travel tips about ecotourism and the latest updates from the blog, consider signing up for the newsletter.
I’ll see you all in the following article about the last day of the Choquequirao Trek without a guide. Bye!!
